
This route is assembled from player reports and has not been reproduced by this site on a named current build.
A first IRON NEST shot becomes much easier once every station is treated as part of the same job. Keep the target, bearing, range, shell, powder charges, and elevation together. If one value changes on the way from the map to the gun, a sound calculation can still produce a bad shot.
This is also the page to use for Mission 1. Available sources do not describe distinct mission objectives that justify a separate walkthrough, so the old Mission 1 page now points here.
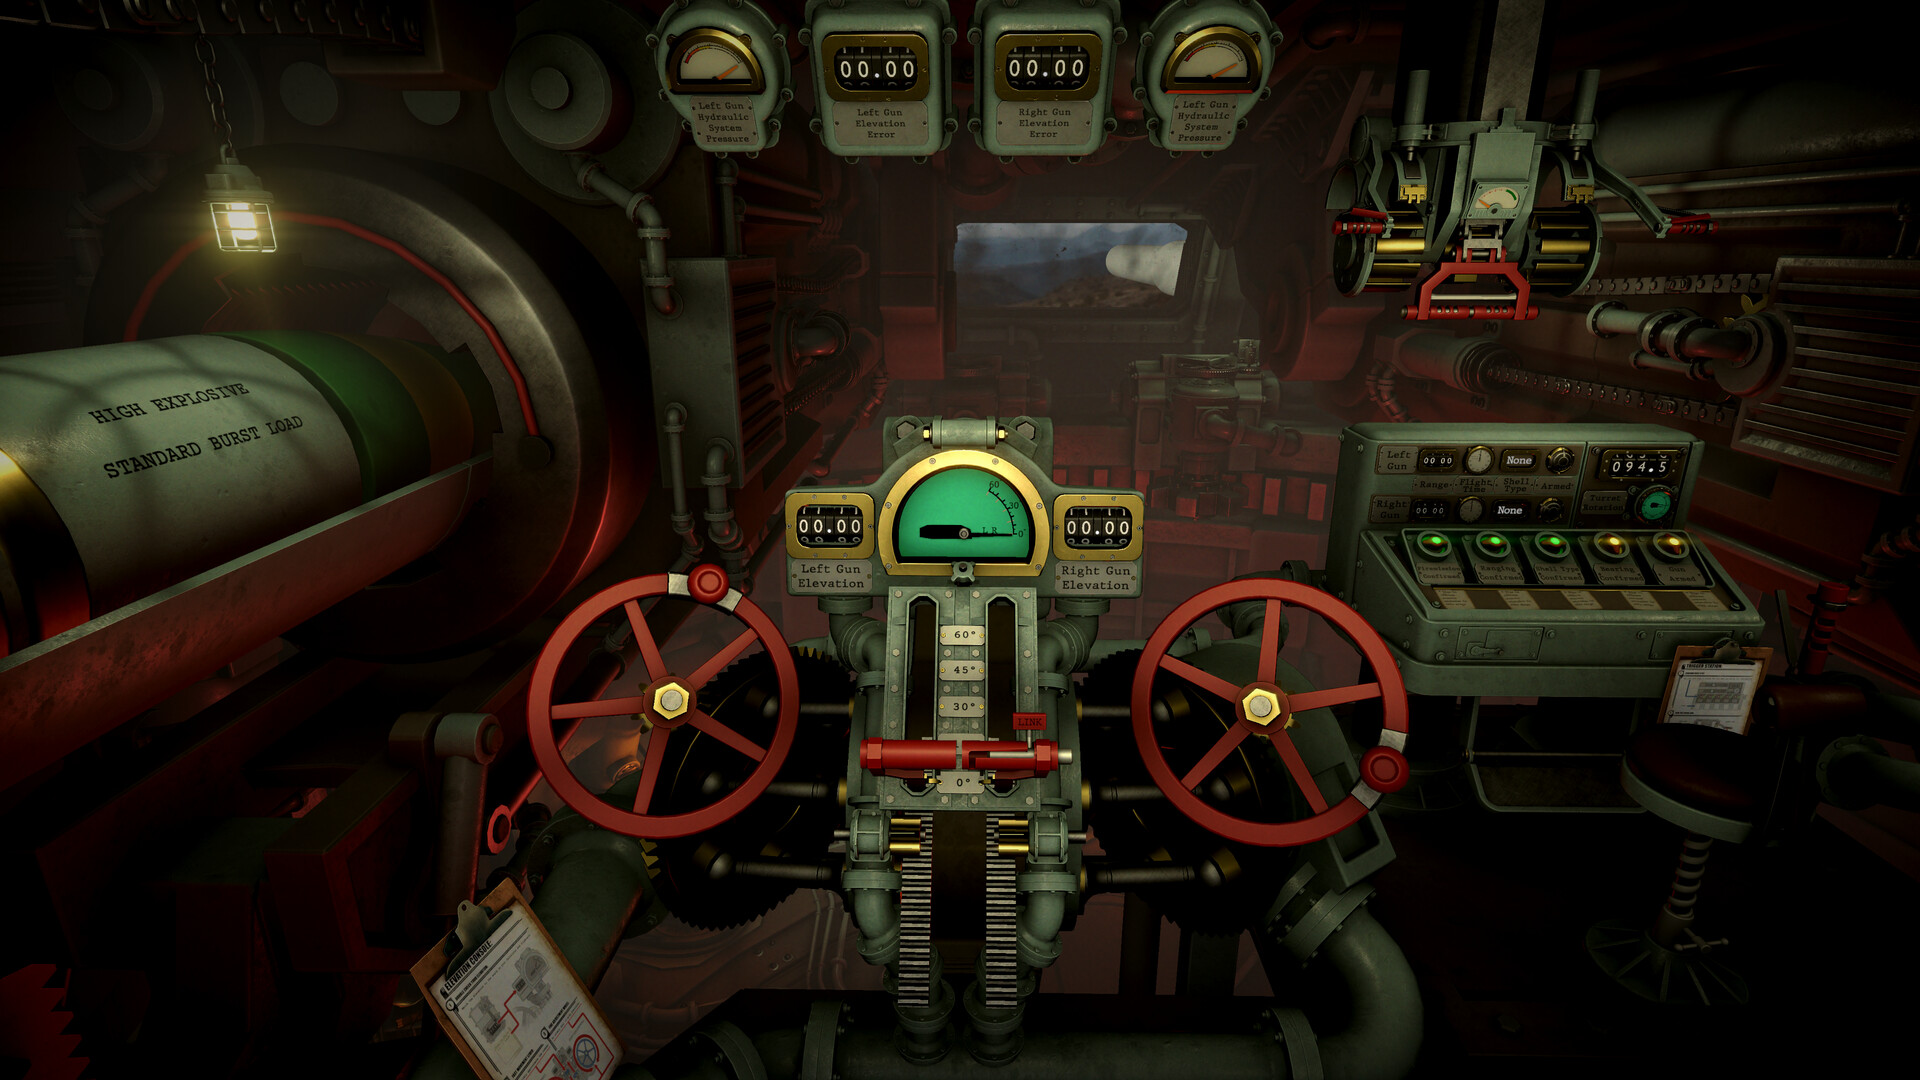
Before you touch the gun
Read the teletype order once without operating anything. Copy the requested target and effect, then prepare a firing card with five fields.
- Bearing
- Distance
- Shell
- Powder charges
- Elevation
The card matters because the work is spread across several stations. It gives you one place to compare the map, calculator, loader, and gun before you fire.
Work one solution all the way through
- Read the order. Copy the target and requested effect exactly.
- Mark the report on the tactical map. If the target comes from spotter information, keep the reporting spotter and the age of the report with the mark.
- Measure the distance. Convert the map result into the range used by the calculator.
- Choose the shell and powder charges. Make this choice before dispensing ammunition.
- Calculate the elevation. Write the result on the firing card and read the full card back once.
- Dispense and load the ammunition. Ram the shell, then insert the chosen charges.
- Set bearing and elevation on the gun. Compare both values with the card before arming.
- Fire and watch the impact. Return to the map and note where the round landed.
- Correct one thing at a time. If the bearing is wrong, do not also change the elevation unless the impact gives you a reason.
The order is more useful than memorizing any one number. A later mission may change the target, time pressure, or available ammunition, but the route from report to impact stays recognizable.
Loading is the point of no return
Player reports consistently describe ammunition handling as one way. Dispensed powder charges cannot be returned, and a shell cannot be pulled back after it has been rammed. Decide the shell and charge combination before loading either gun.
If the card changes after loading, stop and recalculate instead of trying to make the old ammunition fit a new solution. This is slower than guessing and much cheaper than wasting the shot.
When the first shot misses
Check the gun against the card before changing the calculation. Bearing, elevation, shell, and charges are the first four things to compare. A mismatch there explains many misses without requiring new ballistics.
If those values agree, use the impact mark to make one measured correction. Player reports also place counter-battery pressure after the first round lands, so prepare the likely follow-up before firing when the mission gives you time.
The map and triangulation guide covers ambiguous spotter reports, old observer positions, and the case where a range and bearing leave two possible target points.
Pick the next guide by the problem you have
- Use Map, Spotter and Triangulation when the report does not give one clear point.
- Use How to Load the Right Gun when the calculation is complete but the loading sequence is unclear.
- Use Match Shells to Targets when you know where to shoot but not what to load.
- Use Phantom Battery when emergency movement leaves you unsure of your own position or the enemy battery.
- Check the latest patch record when a mission behaves differently from an older guide.
Sources
The product description comes from the official store pages. The firing sequence and ammunition behavior come from player reports and remain community guidance until they are reproduced on a named current build.